Essential Tips for Mastering Cap Embroidery
Beginning your journey to master cap embroidery, including 3D cap embroidery, requires a mix of creativity, precision, and technical skills. In this guide, we offer essential tips to help you improve your cap embroidery skills. From understanding design basics to optimizing your tools, each tip is carefully crafted to assist embroiderers of all levels. Whether you’re just starting out or have some experience, these tips will be valuable as you aim to become proficient in cap embroidery.

Overview of Cap Embroidery
We start by covering the basics, such as selecting stitches, managing thread tension, and positioning your hoop. Mastering these fundamental aspects is crucial for achieving flawless results when digitizing designs for hats and using embroidery digitizing services. As we progress, we’ll dive deeper into creating and customizing designs, helping you bring your creative ideas to life with captivating embroidered motifs.
Additionally, we’ll explore advanced techniques and troubleshooting strategies to overcome common challenges in cap embroidery digitizing. With practical advice, easy-to-follow tutorials, and motivating insights, this guide will give you the knowledge and skills you need to embark on a rewarding journey of creativity and mastery in cap embroidery.
Table of Contents
Understanding Cap Embroidery
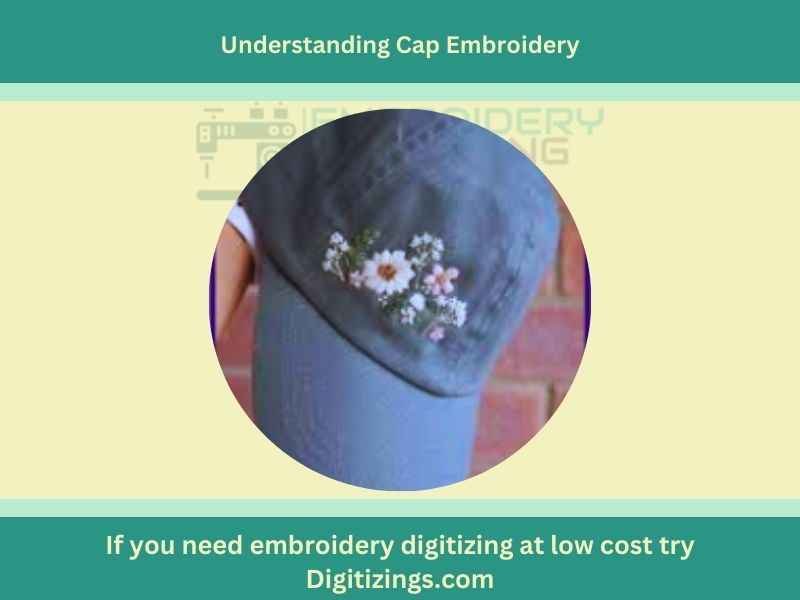
To begin your journey in cap embroidery, let’s simplify the basics. First, let’s talk about what you’ll need.
You’ll want colorful threads, needles that match the thickness of your threads, and a reliable hoop to keep everything steady while you work. Don’t forget about digitizing too – you can either use software or find a service for digitizing your hat designs into embroidery files.
Now, let’s discuss the caps themselves. Different caps are better suited for different designs. Structured caps, like baseball caps, work well for bold designs, while softer caps, like beanies, are better for simpler ones. Also, pay attention to the fabric – most caps are made of cotton and polyester blends, but some might be made of fancier materials like denim or wool, which may require different techniques.
Lastly, let’s explore techniques. There’s standard flat embroidery, which is great for simple designs. But if you want to get creative, try 3D cap embroidery for added depth or appliqué for a textured look. Mastering these techniques will unlock endless possibilities for your embroidered caps.
If you’re looking for a top-quality embroidery design digitizing & vector art service, look no further than ours! With quick turnaround times and excellent quality, we’re the perfect choice for anyone looking for a reliable and affordable option.
Get 50% OFF On Your First Order Always get a preview before you pay so that you know exactly what your design will look like. We guarantee you won’t be disappointed!
Essential Equipment and Tools

To succeed in cap embroidery, having the correct equipment and tools is essential. Here’s what you’ll need:
Embroidery Machine Selection: Your embroidery machine is the core of your operation. Ensure it’s compatible with cap frames or attachments, allowing seamless work on caps. Look for versatility in stitching capabilities and adjustable speed settings to handle various designs and materials. Consider factors like ease of use, maintenance requirements, and available customer support for a smooth embroidery experience.
Embroidery Hoops and Frames: Embroidery hoops and frames are vital for keeping your fabric tight and secure during embroidery. Choose hoops specifically designed for caps to ensure a snug fit and uniform stitching. Adjustable frames are ideal for precise positioning and alignment of caps. Magnetic hoops or adhesive backing systems can further improve stability and efficiency, streamlining your embroidery process.
Threads and Needles: Selecting the right threads and needles is critical for achieving professional results. Invest in high-quality embroidery threads in a range of colors for vibrant designs. Ensure threads are durable and colorfast to withstand washing and wear. Choose fine needles suitable for delicate cap embroidery, taking into account thread thickness and fabric type for optimal stitching. Regularly replacing needles maintains embroidery quality and prevents fabric damage.
By equipping yourself with the appropriate equipment and tools, you’ll be well-prepared for success in cap embroidery, bringing your creative visions to life with precision and finesse.
Preparation Before Embroidery
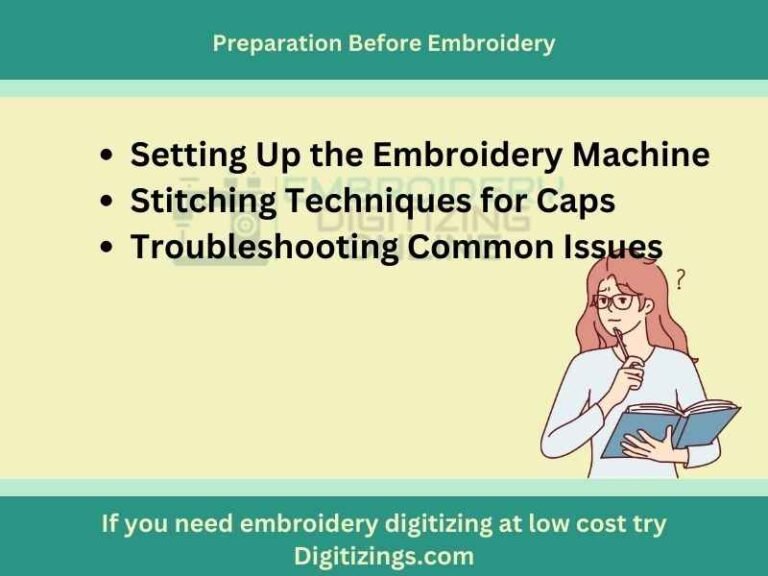
Before diving into cap embroidery, it’s crucial to prepare properly:
Choosing Designs: Pick designs that suit caps and appeal to your audience. Find inspiration from online sources or create your own artwork. Ensure the design size fits the cap’s surface area and consider the color scheme for maximum visual impact.
Preparing Caps: Thoroughly clean caps to remove dirt and oils. Smooth out any imperfections and stabilize the fabric with backing material. Pay attention to the cap’s structure and shape, ensuring it’s properly stretched and positioned to prevent distortion during stitching.
Transferring Designs: Transfer designs onto caps using transfer paper for simple designs or embroidery software for intricate ones. Use an embroidery machine equipped with cap frames for precise placement. Double-check the alignment and positioning of the design before starting the embroidery process to avoid errors or misplacement.
Mastering Cap Embroidery Techniques
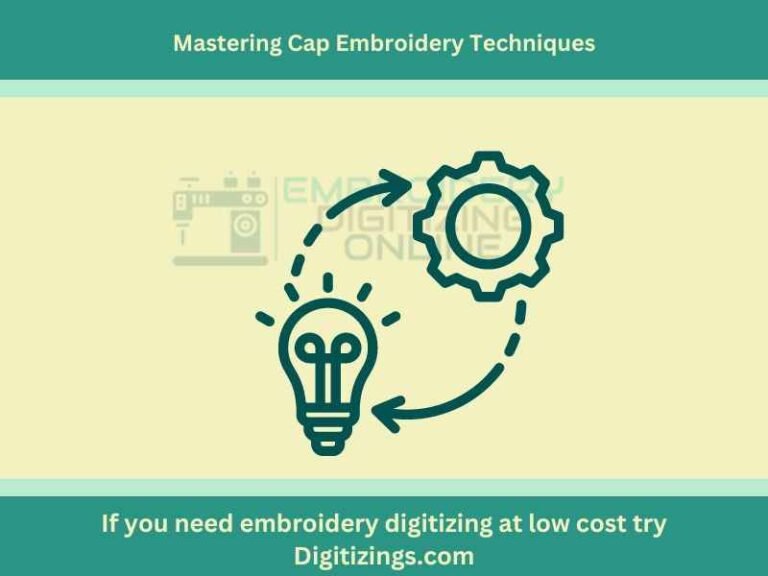
To excel in cap embroidery, mastering essential techniques is crucial. Here’s what you need to know:
Setting Up the Embroidery Machine: Properly setting up your embroidery machine is vital for successful cap embroidery. Ensure the machine is calibrated correctly and that the cap frame or attachment is securely in place. Adjust settings like thread tension and stitch speed based on the design and fabric to achieve optimal results.
Stitching Techniques for Caps: Mastering stitching techniques tailored for caps is essential for achieving professional-quality embroidery. Experiment with different stitch types, densities, and directions to create dynamic textures and effects. Pay attention to factors such as stitch length, density, and needle selection for clean and precise stitching.
Troubleshooting Common Issues: Despite preparation, issues may arise during embroidery. Learn to troubleshoot common problems like thread breakage, puckering, or misalignment. Adjust settings, change needles, or reposition fabric to resolve these issues and maintain embroidery quality.
By mastering these techniques, you’ll confidently tackle cap embroidery projects, achieving professional results every time.
Tips for Designing Cap Embroidery

Designing cap embroidery requires careful consideration to ensure the best results. Here are practical tips to help you create stunning cap embroidery designs:
Keep it Simple:

Opt for bold, clear designs with minimal intricate details. Caps offer limited space for embroidery, so focus on clean lines and easily recognizable shapes. Simplify your design to maintain visual appeal when scaled down.
Consider Cap Structure:

Take the cap’s shape and structure into account when planning your embroidery design. Avoid placing intricate elements near seams or folds that may distort when worn. Choose flat, unobstructed areas to showcase your design effectively.
Choose Suitable Colors:

Select colors that complement the cap’s color and material. Consider the background color of the cap when choosing thread colors for adequate contrast and visibility. Simplify your color palette to avoid excessive changes during embroidery.
Test Before Stitching:
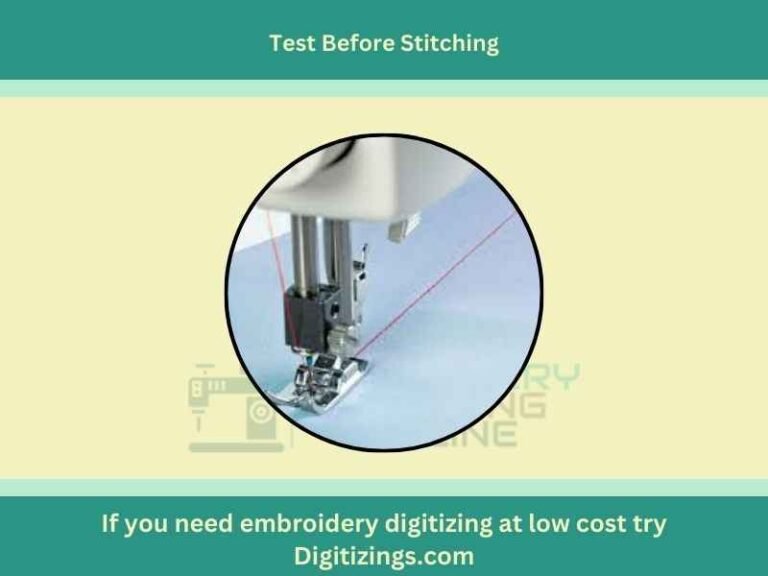
Before embroidering onto the cap, test your design on similar fabric to evaluate its appearance. Adjust size, placement, or color as needed. Testing helps identify potential issues like puckering or thread tension before embroidering onto the cap.
Pay Attention to Detail:
Ensure all design elements are well-defined and balanced. Pay attention to text legibility, spacing between elements, and overall design proportions for a polished look.
Optimize Digitization:
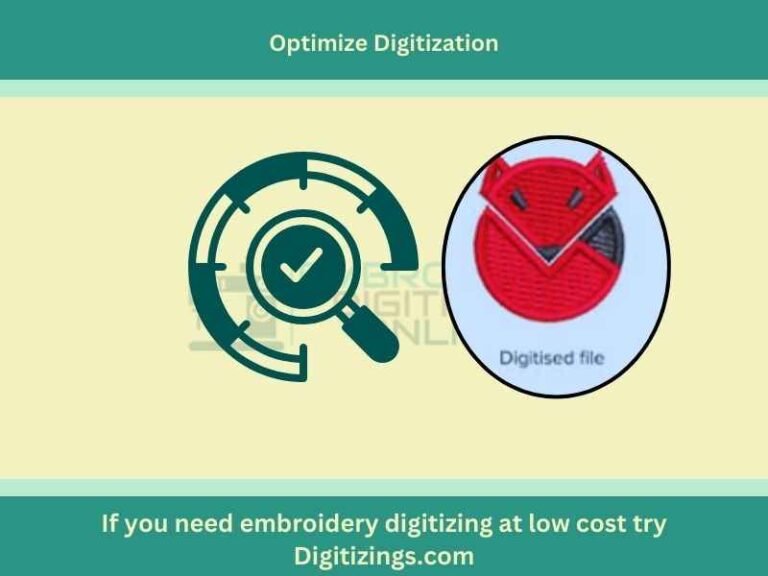
If using digitized designs, optimize them for cap embroidery. Adjust stitch densities, underlay, and directions to accommodate the cap’s curved surface and prevent distortion. Test the digitized design on similar fabric to ensure clean and accurate stitching.
Consider Branding:

If the embroidery is for branding, strategically incorporate logos or brand elements into your design. Maintain brand identity while adhering to cap embroidery constraints. Consider logo placement and size for maximum visibility and recognition.
Conclusion
In conclusion, mastering cap embroidery involves considering essential factors such as selecting designs, preparing caps, and mastering digitizing techniques. By following the tips provided, you can create impressive and well-made designs. Remember to prioritize simplicity in your designs, test them before stitching, and pay attention to details like colors and digitization.
Additionally, for those seeking to enhance their embroidery work further, embroiderydigitizing.online offers fast and affordable services for embroidery digitizing and vector art. With their assistance, you can elevate your embroidery projects with ease.
Thank you for reading this article on Essential Tips for Mastering Cap Embroidery.
If you’re looking for a top-quality embroidery design digitizing & vector art service, look no further than ours! With quick turnaround times and excellent quality, we’re the perfect choice for anyone looking for a reliable and affordable option.
Get 50% OFF On Your First Order Always get a preview before you pay so that you know exactly what your design will look like. We guarantee you won’t be disappointed!
FAQ's
Cap embroidery involves using an embroidery machine to stitch designs, logos, or patterns onto caps or hats. This process adds decorative or branding elements to caps, enhancing their visual appeal.
The best needle for embroidering structured hats is a sharp, fine needle with a size suitable for the thread thickness and fabric type. Specifically designed needles for embroidery on thick materials like hats ensure clean and precise stitching.
The standard cap embroidery size typically ranges from 2.5 inches to 4 inches in width, depending on the cap’s surface area and design placement. However, size requirements may vary based on the cap style and design preferences.
Mastering cap embroidery machine involves familiarizing yourself with its operation, including setting up the machine, selecting appropriate designs and threads, and adjusting settings for optimal stitching. Practice different techniques and troubleshoot common issues to improve your skills.
To master cap embroidery at home, start by practicing basic embroidery techniques on scrap fabric before working on caps. Invest in a quality embroidery machine suitable for cap embroidery and learn its features. Experiment with designs, threads, and techniques, and seek online tutorials or attend classes to refine your skills further.

